
We recently fixed up our master bedroom and this was one of the projects that made a huge diffence in the room. Who would have thought that you could just spray paint a ceiling fan?
What you will need:
- Spray paint. I used black semi-gloss paint that could be sprayed on metal.
- Painter's tape
- Screw driver
- Plastic bags
- Large piece of cardboard
- Drop cloth or anything that can protect your floors

Use your screw driver to take off the wood fans from the center metal piece.
I looked at some tutorials that took down the whole ceiling fan to spray paint, but seriously, who has time for that?! My way was way easier. All I did was take a large piece of cardboard and cut a hole in the center that was the same size as the base of the fan. I then taped it to the ceiling (see above photo).
Next, put bags around the light bulbs and tape them to keep them in place.
Now you are ready to spray paint. Make sure you protect your floor with something (I had a drop cloth) and open up the windows for ventilation.
After you spray paint, make sure you let the fan dry. Then you can screw the fans back on.

Voila! Instant fan makeover!
Usually, people would choose to take the ceiling fan down to make sure the work is done right. But, if that’s the way you like it, then why not, right? And you certainly did a great job with you ceiling fan! If you like, you can also give your fan blades a new look by painting them. Seeing how you did with your ceiling fan base, I think it wouldn’t be a problem for you!
ReplyDeleteI’ve been surfing online more than three hours today, yet I never found any interesting article like yours. It’s pretty worth enough for me. In my opinion, if all webmasters and bloggers made good content as you did, the web will be a lot more useful than ever before. view
DeleteHaha, taking it down would probably be more professional. Honestly, it was too much effort for the same result :) Thanks for the comment!!
ReplyDeleteI personally think it's a great idea. Well done.
DeleteIts way too much work to take it down. I removed the chandelier to spray paint it and it was way too much drama taking it down then putting it back. I was dreading having to do the ceiling fan but after coming across your blog, I'm inspired!
Thanks
Good luck!! Make sure you put a drop cloth or old sheet down - and open plenty of windows!
DeleteThe guy that said something about taking it down,no need,you do things the way you feel most relaxed,and the job,any job will go smoother,making your job top notch.As yours was.
DeleteLooks good.
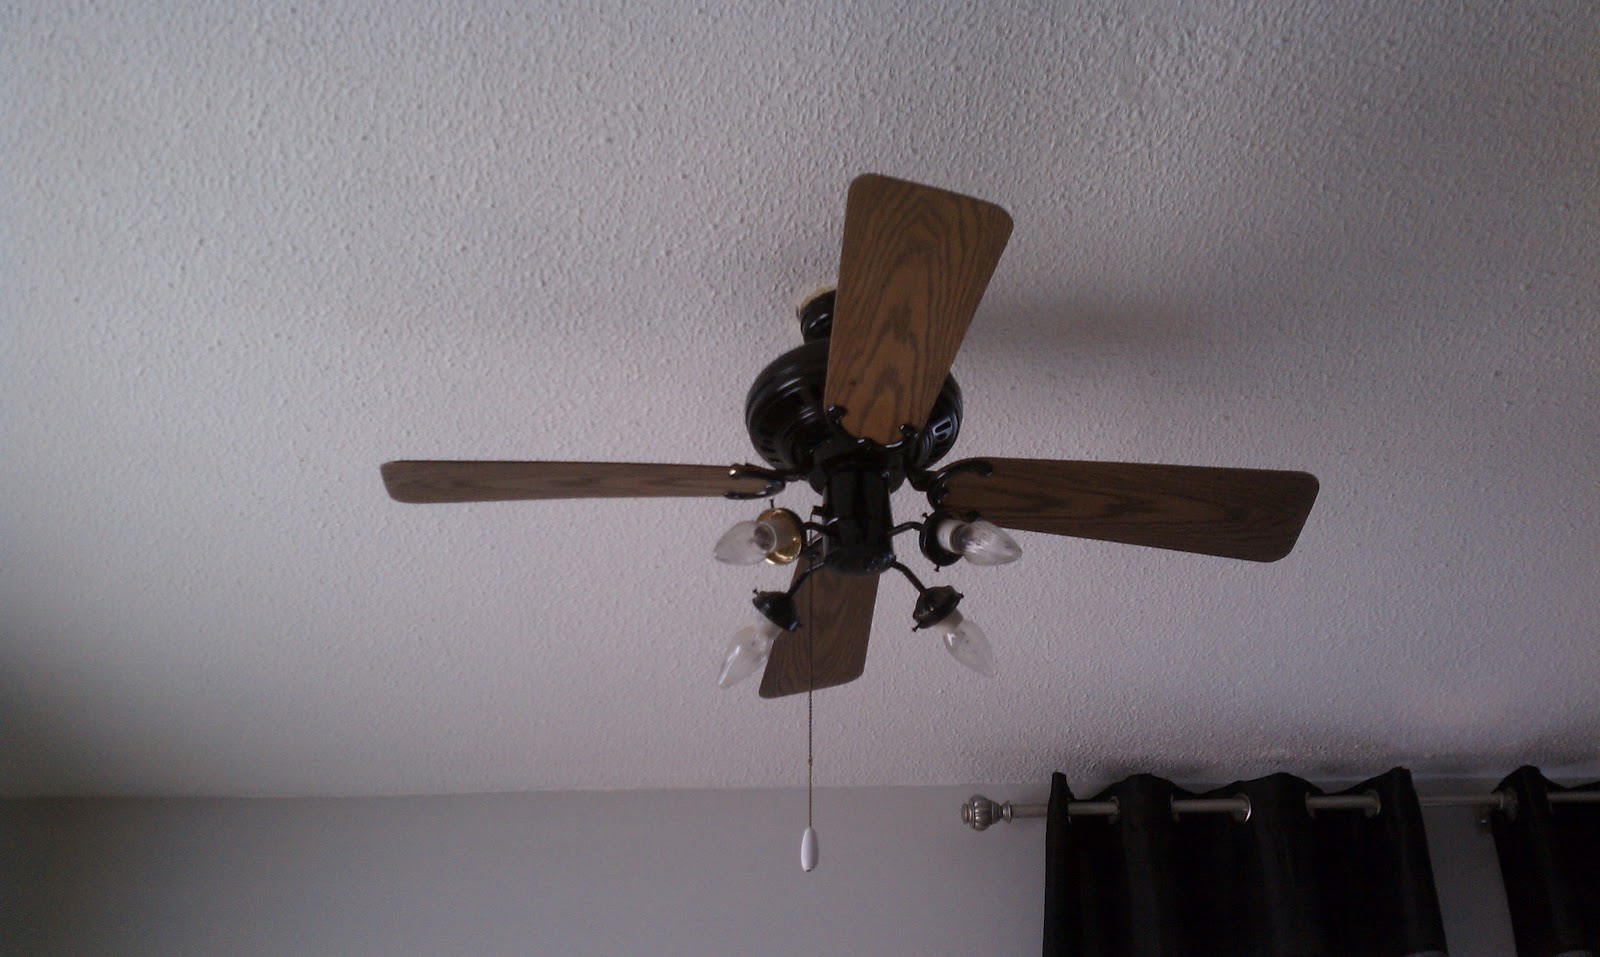
ReplyDeletefor those wondering, the fan is an Emerson Designer model 2042, form the '80s.
The two fans pictured in the before and after are completely different fans. Different blades, globes, and the brackety things that hold the blades in place are different shapes. Odd???
ReplyDeleteYou are right, I forgot to take a before picture before I took the blades off. I thought it would be helpful if people saw something similar to the before pic. Good spot
DeleteCurious if spray painting the fixture portion damages anything on the interior of the fan, the motor? That's my only concern. Glad to see I will not have to take the fan down, because that will not happen! I'm no electrician.
ReplyDeleteI spray painted my fixture over 3 years ago and it's still going strong! I do wish I used a silver spray paint and not black :)
Deletetaruhan tajen sabung ayam bali
ReplyDeleteUseful post. As per my suggestion Hover is the best ceiling fan supplier in India.
ReplyDeletehttp://www.hover.global/ceiling-fans.html
mau yang asik ? ayam bangkok petarung
ReplyDelete