

I was thrilled to have the Meredith Vieira Show contact me about showing this project on one of their segments. I thought I would repost my blog post for easy viewing.
We bought our house about 4 years ago and ever since, we have slowly been renovating the space. Although I love how the living room and kitchen turned out, I could never decide what to do with an awkward wall that was situated between the two open-plan spaces. I finally decided that a built-in would solve the issue, while also providing storage and a place to display decorative items.
My next thing was figuring out how to built the built-ins without paying the built-in price. After scouring the internet, I saw that others have used IKEA furniture and transformed them into custom pieces (it's called IKEA hacking). The space where I wanted the built-ins to go was 7 feet width and 12 inches deep with a ceiling height of 8 feet. Below is our shopping list from IKEA and the hardware store. I have also provided step-by-step instructions on how you can make your own built-ins.
From IKEA:
- (2) 31.5"W Billy Bookcases - click here
- (2) 31.5"W height extension units (I wanted the built-ins to go all the way to the ceiling) - click here
- (1) 15 3/4"W Billy Bookcase - click here
- (1) 15 3/4"W height extension unit - click here
- (4) 31.5"W glass shelves - click here
- (2) 15 3/4"W glass shelves - click here
From the hardware store:
- 7' of crown molding
- 7' of baseboard
- 6 pieces of pine wood that was 1.5"W x 1/4"D x 8'L
- Puck lights that came in a pack of 5
- A dark blue paint (you can use any color)
- Paint that would match the IKEA laminate - I went with Valspar Dove White from Lowes
- Primer
- Liquid nail adhesive
- Caulk
- Paint brush and roller
- Nail gun
- Saw to cut crown molding, baseboards and trim
- Hammer
- Screwdrivers - flat head and Phillips

It took a while to complete this project, especially since the nearest IKEA to New Orleans is in Houston (a 5 hour drive). We decided to make a trip out of it, had an awesome time and then finished it off by visiting IKEA. The above picture is of some of our supplies. What a mess!

Definitely ask someone to help you with this kind of a project. It's way faster with help and looks better in the end. I was so lucky to have my husband, who always gets sucked into projects he doesn't want to do! We started off by building all three bookcase frames.

I wanted to paint the backs of the bookcase a different color so that the finished piece would look more custom.

I laid out the backs all over my kitchen and started to paint. First paint with primer and then let dry.

I used a plate for my paint instead of that big plastic rectangle you are suppose to use. It is a lot easier to carry a plate around. I didn't want to ruin the plate so I wrapped it with plastic wrap. When I was done, I let the paint dry on the plate and then took the plastic wrap off.


We let the backs dry overnight, then installed them onto the frames. There's my husband hard at work :)

Always fit the bookcase in the space and make a plan before you bolt anything down. There was a 1 1/2" gap between each bookcase and the wall. We already planned for this, so we were ready to start.

There was an existing electrical wire on the wall that we converted into an outlet so that we could install puck lighting.

We made sure to turn off the main electrical switch before messing with the electricity.

We secured the bookcases to the wall with the provided hardware and then started to install the lighting.

We then put the extender pieces on top of the bookcase and secured those in place. My husband had to cut a hole in one of the bookshelf backs so that the electrical outlet could go through.

We then used a nail gun to add the baseboard and crown molding.

We used liquid nail adhesive, a nail gun and pine wood trim to cover the gaps in between the bookcases. I then used caulk everywhere to fill in any gaps.

I let the caulk dry and then primed and painted. I used Valspar Dove White paint from Lowes for the paint. It matches the existing laminate perfectly.

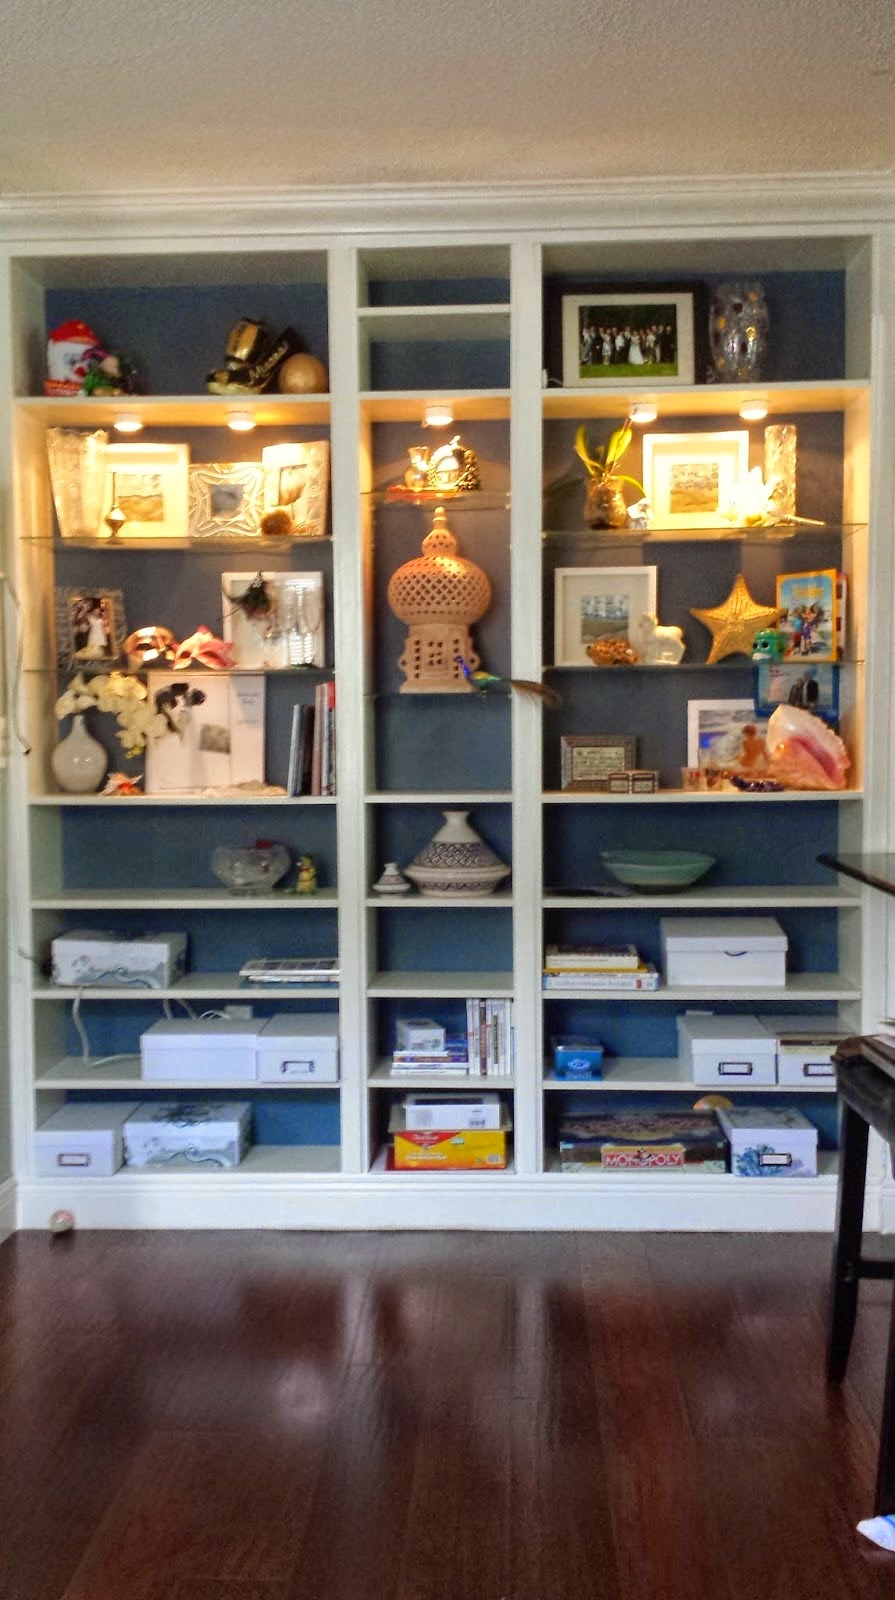
All done! This built-in made such a difference in our space. It really looks custom. It took a while to complete, but really wasn't too difficult of a project.

This is what it looks like with the glass shelves.


Thanks for viewing!!


